123D Catch as a Scanner for Importing Surface Models
As promised, I looked at the 123D Catch program, a free download from Autodesk at 123D Catch, and played around with it trying to get the program to render a surface model that had some complex geometry, curves and surfaces.
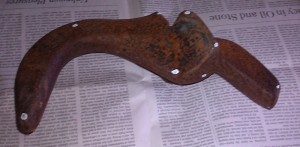
The model is that of a US Railroad coupler component called a “thrower”. This component will throw open the knuckle when the coupler lock is lifted and has only one flat surface on with a lot of hard to define curves and surfaces on it. 
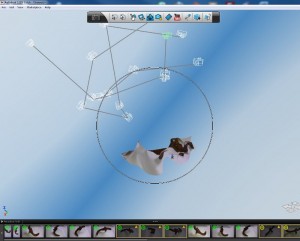
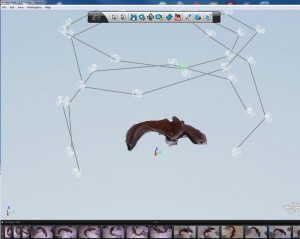
The way 123D Catch works is by compiling and processing a series of sequential digital photos that you take of your subject. The program will upload the series of photos to Autodesk on the cloud where they get compiled, processed then emailed or downloaded back to you as a 3dp file for further modifications in the 123D Catch program. The upload and download time, on my computer, took less than 5 minutes (30Mps). Speeds will vary depending on connection speed. A good video of the process can be found on YouTube at this link: Autodesk 123D Catch for the iPhone
My first 4 attempts at this failed for a number of reasons, the first surface model looked like crumpled, dirty aluminum foil. 
After consulting some online resources I got better at it and by the 5th iteration got an almost enclosed surface model. 
In short, to make it succeed you need to walk around the static model, not rotate the model to the camera. You also need to have some sort of large base reference for the compiler. I saw others use a printed newspaper on a large table top and this worked well for me too. Using a flash did not work well (no shadowing I suspect), neither did using strong spot lights or natural lighting from a window (too many shadows is suspect). What seemed to work best was bright diffused ambient lighting.
One thing that became apparent is that when the camera was looking at the underside of the model that it failed to recognize those images. What you are left with, in that scenario, is a distorted model and that will have open areas on the underside that will need to be patched or knitted. A good model to use for this application is one that is generally conical in shape with a flat surface on the bottom. With my model the bottom was distorted and littered with openings while the top rendered adequately.
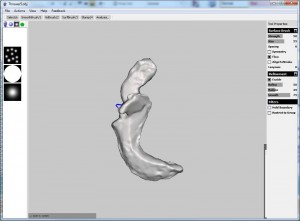
To repair your 3dp files of the resulting holes, Autodesk provides you with another free download called “meshmixer” . Here you can fill in the holes using various options. The following video is on the 123D Catch channel along with other related and very helpful video links: “Healing your Catch for 3D Printing with a MakerBot”. 
The last step in meshmixer is to save your file as an STL file which will be recognized by both 3D printers and SolidWorks. Click here for the: 123D YouTube channel.
I think that with practice one can get very good surface models rather quickly as long optimal model geometry and external conditions are used for the scans. Have fun!
Here are some additional helpful videos:
123D Catch – How to Make 3D Models from Pictures
Click here for the: 123D YouTube channel
Click here for the: Autodesk 123D Catch channel

This Post Has 0 Comments