“Napkin Realization” – Your product or concept starts here!
This page discusses a potential design journey for your concept in four sections:
- Design – Defined
- Firm/Client Expectations and Outcomes
- Typical Steps in Design
- A Journey through a Product’s Design and Development (coming soon)
Design – Defined
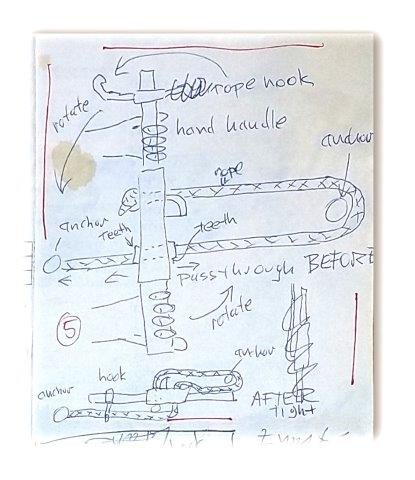
Design is the process of developing a solution to a problem. With our firm: we take your idea – on how you think a problem may be solved – and begin to develop it. With a description and your napkin sketch – our step by step approach to design starts with a 3D Virtual Model in order to create visuals, physical prototypes, drawings, and beyond with the underlying goal of helping you develop your concept into a real product or system.
Following the design steps as described below we create for our clients a package of design elements so that their concept can be demonstrated to other people who may also help move their project forward.
Physicals – “Looks Like” Prototype – content 12
3D model development or modification / Prototypes / Looks like Prototype – a non-functioning, perhaps scaled down, attractive physical model that can be used for demonstration. (Slide Show on the right)
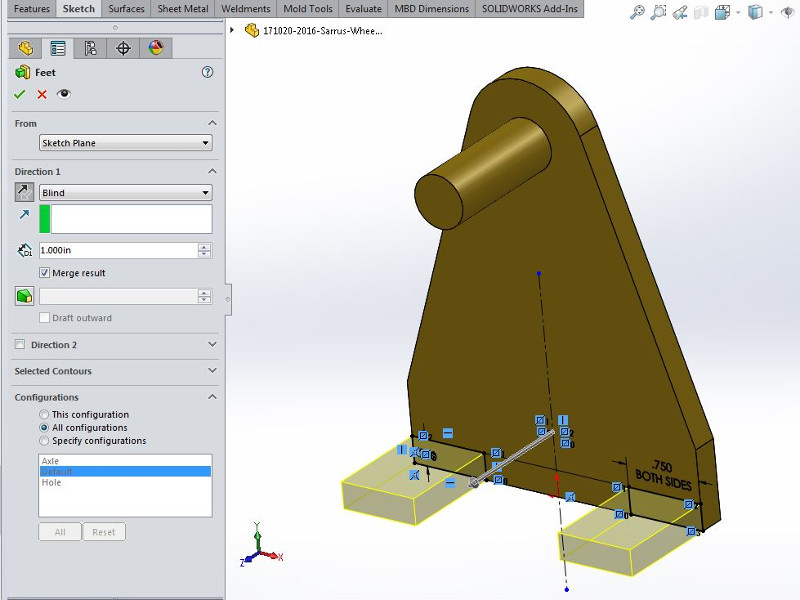
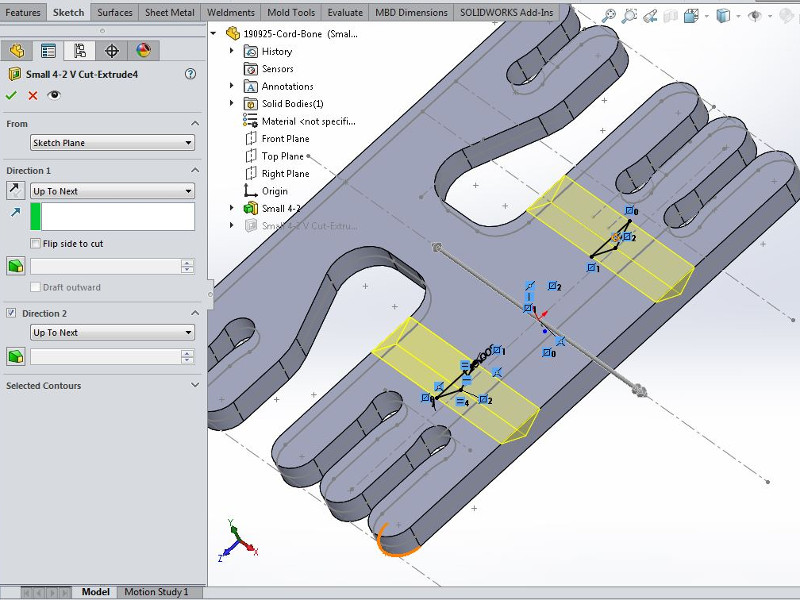
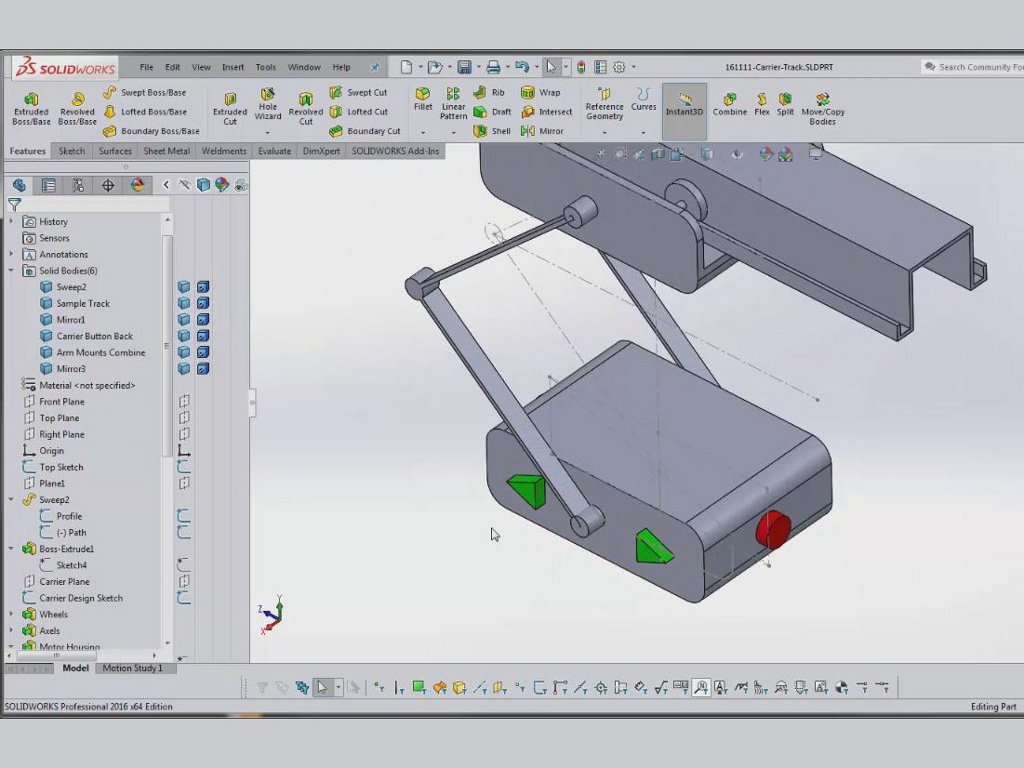
3D Virtual Model Section – title and text – content 1
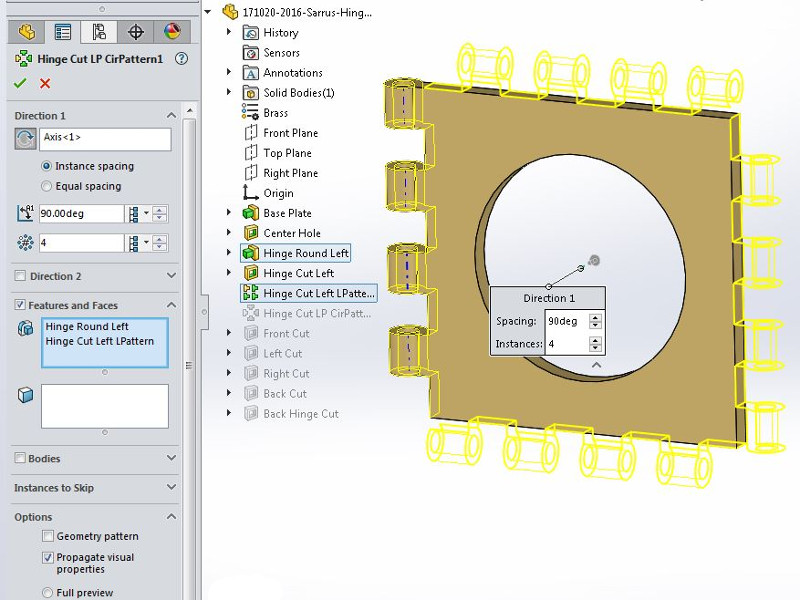
3D virtual model development – Based on a client’s description and sketches our firm’s design process starts here employing SolidWorks to at least create a simple part or form… or it can be used for the creation of complex multi part assembly(s), and with motion too if desired. This initial step will be followed by something that can be demonstrated to others (along with your descriptions) and may include one, some or all of the items demonstrated in the sections below.
In the sections below a 3D Virtual assembly model – named the Sarrus Mechanism – will be used for demonstration to provide a consistent example for comparison between the sections. This assembly model along with its various parts was developed as an instructional tool in my classroom and provides an example of a quick assembly with its moderator complex parts that can be developed quickly from which visual and physical outputs can be derived from.


-

- 3D Virtual Model -SolidWorks – Assembly Line Layout
-

- 3D Virtual Model -SolidWorks – Go Personal Transit Model
-
- 3D Virtual Model -SolidWorks – Sarrus Wheel Mount
-
- 3D Virtual Model -SolidWorks – Cord Bone Concept
-
- 3D Virtual Model -SolidWorks – Sarrus Plate
-
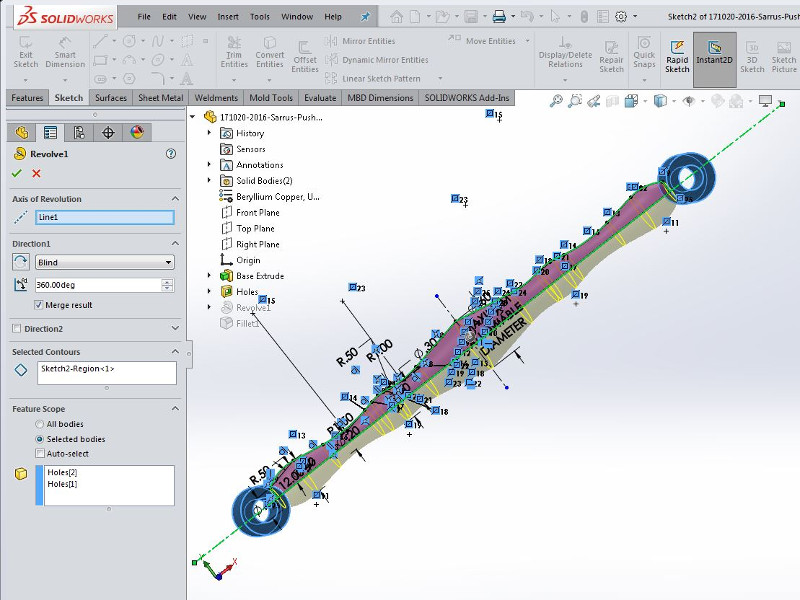
- 3D Virtual Model -SolidWorks – Sarrus Rod
-
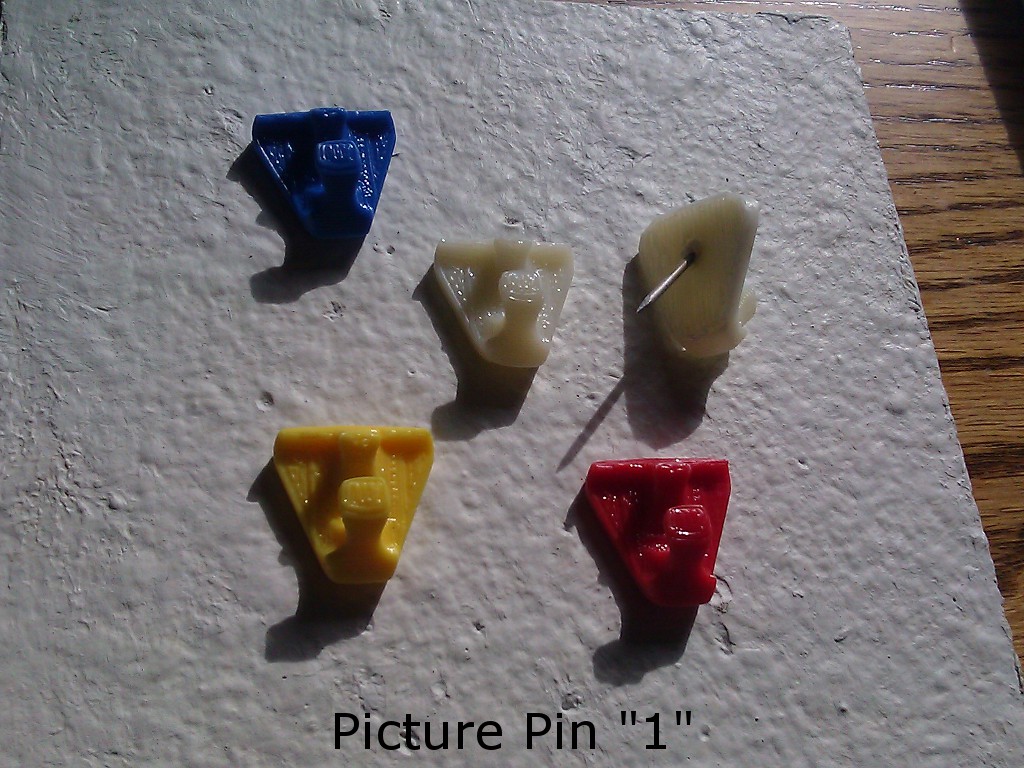
- 3D Virtual Model -SolidWorks – Push Pin Example
-

- 3D Virtual Model -SolidWorks – Sheet Metal Enclosure
-

- 3D Virtual Model -SolidWorks – Horn Mouthpiece Design
-

- 3D Virtual Model -SolidWorks – Sarrus Wheel
-
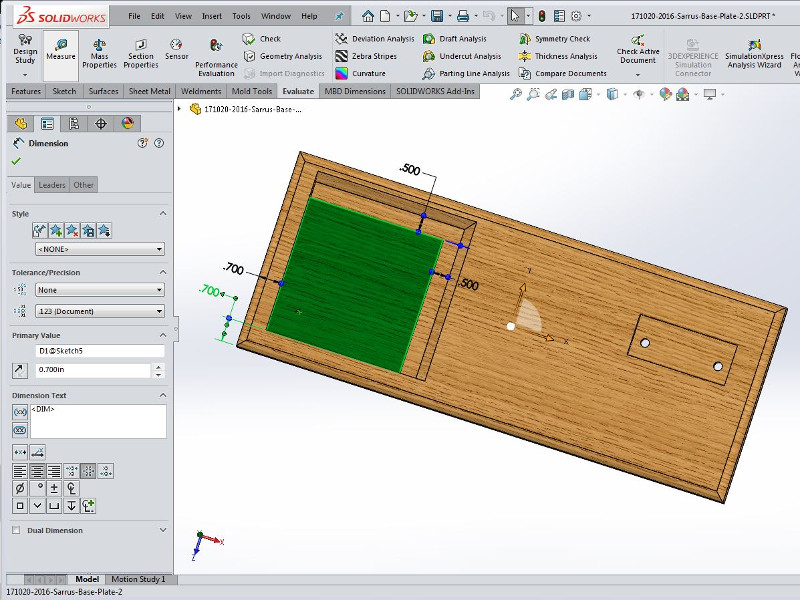
- 3D Virtual Model -SolidWorks – Sarrus Base Plate
3D Virtual Model Section - title and text - content 1
![]() 3D virtual model development – Based on a client’s description and sketches our firm’s design process starts here employing SolidWorks to at least create a simple part or form… or it can be used for the creation of complex multi part assembly(s), and with motion too if desired. This initial step will be followed by something that can be demonstrated to others (along with your descriptions) and may include one, some or all of the items demonstrated in the sections below.
3D virtual model development – Based on a client’s description and sketches our firm’s design process starts here employing SolidWorks to at least create a simple part or form… or it can be used for the creation of complex multi part assembly(s), and with motion too if desired. This initial step will be followed by something that can be demonstrated to others (along with your descriptions) and may include one, some or all of the items demonstrated in the sections below.
In the sections below a 3D Virtual assembly model – named the Sarrus Mechanism – will be used for demonstration to provide a consistent example for comparison between the sections. This assembly model along with its various parts was developed as an instructional tool in my classroom and provides an example of a quick assembly with its moderator complex parts that can be developed quickly from which visual and physical outputs can be derived from.
-
- Shaded with Edges – 3 Point Faded
-

- Shaded with Edges – 3 Point Faded – Real View Graphics w Ambient Occlusion Shadows – Cartoon
-
- Hidden Lines Visible – 3 Point Faded
-
- Shaded – 3 Point Faded
-

- Shaded with Edges – Courtyard
-

- Shaded with Edges – Plain White
-
- Shaded – 3 Point Faded – Shadows
-
- Shaded with Edges – 3 Point Faded – Cartoon
-

- Shaded with Edges – 3 Point Faded – Real View Graphics
-

- Wireframe – 3 Point Faded
-

- Shaded with Edges – 3 Point Faded – Shadows – Cartoon
-

- Shaded with Edges – 3 Point Faded – Real View Graphics w Ambient Occlusion
-

- Shaded with Edges – 3 Point Faded – Shadows
-
- Shaded with Edges – 3 Point Faded – Shadows
-
- Shaded with Edges – Soft Spotlight
-

- Shaded with Edges – 3 Point Blue
-
- Shaded With Edges – Backdrop Studio Room
-

- Shaded with Edges – Backdrop Ambient White
-
- Shaded with Edges – 3 Point Faded – Real View Graphics w Ambient Occlusion – Shadows
-
- Shaded with Edges – Backdrop Lightbox Studio
-
- Shaded with Edges – 3 Point Faded – Real View Graphics – Shadows

-

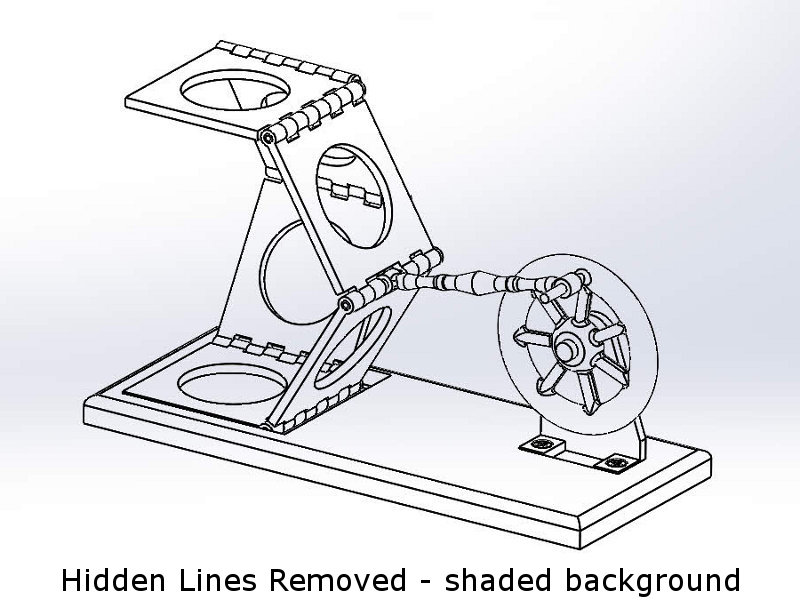
- Hidden Lines Removed – 3 Point Faded
Visuals - Simple Model Images – Sarrus Mechanism – content 2
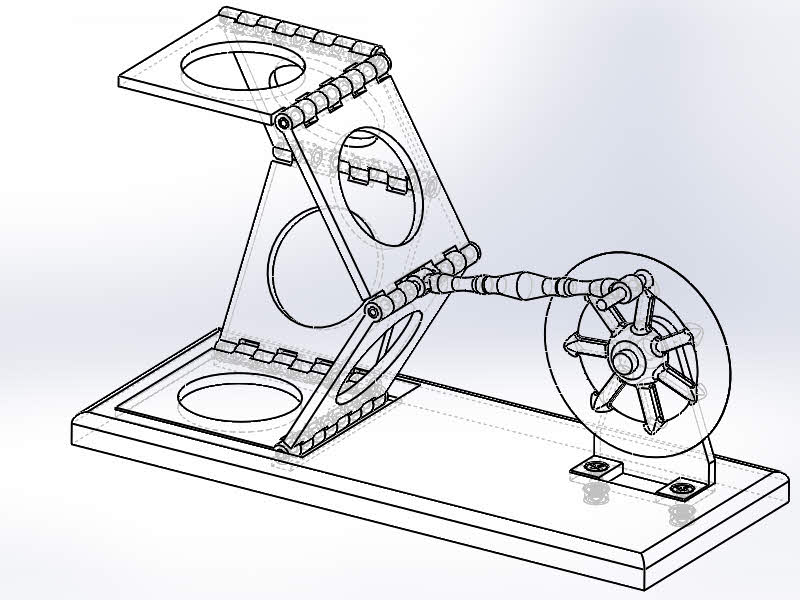
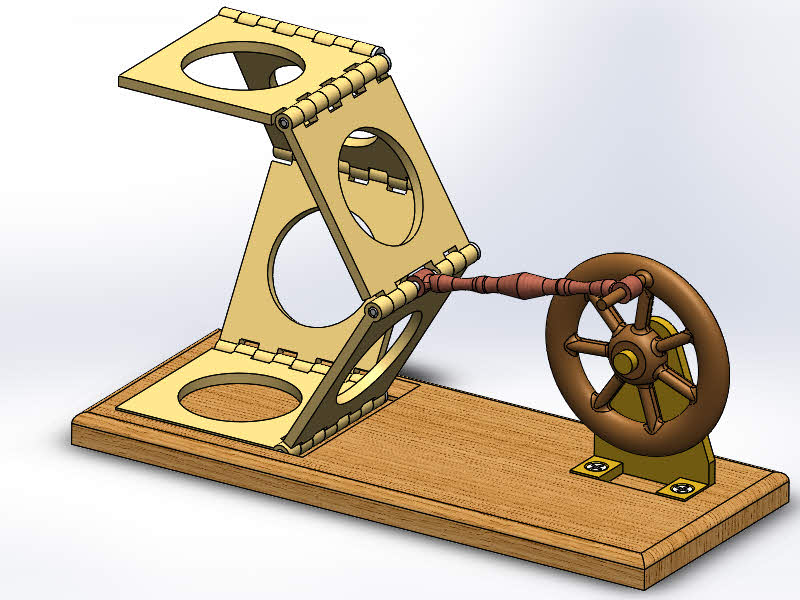
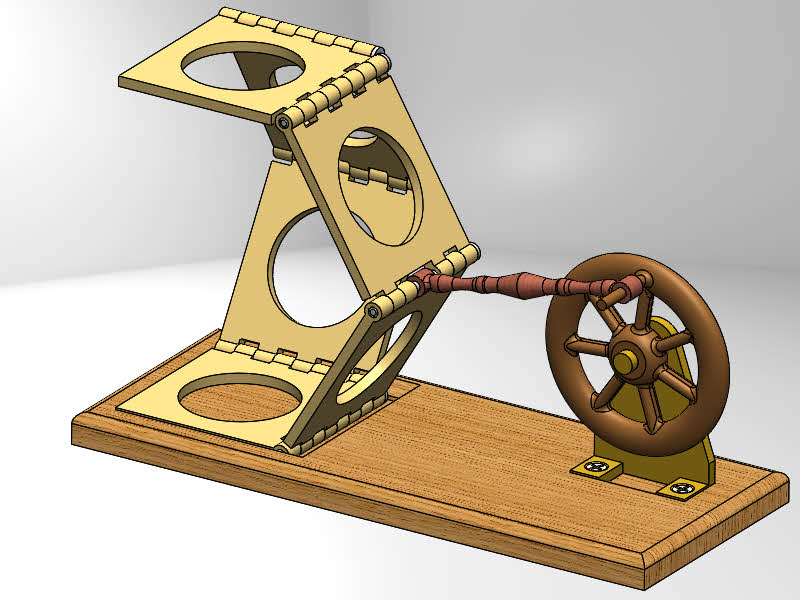
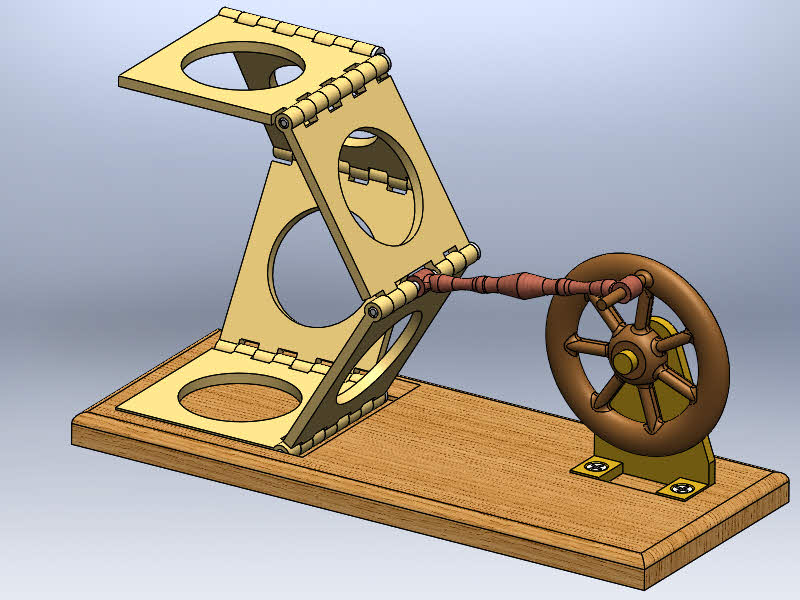
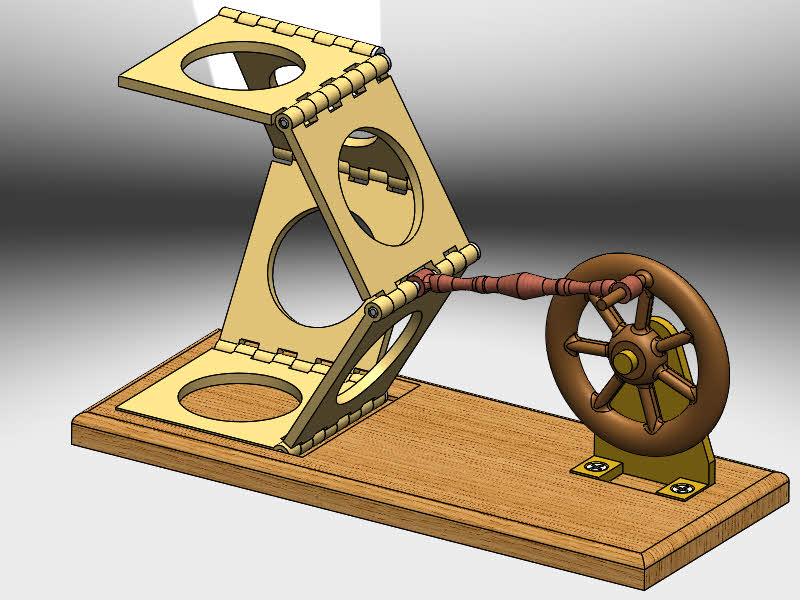
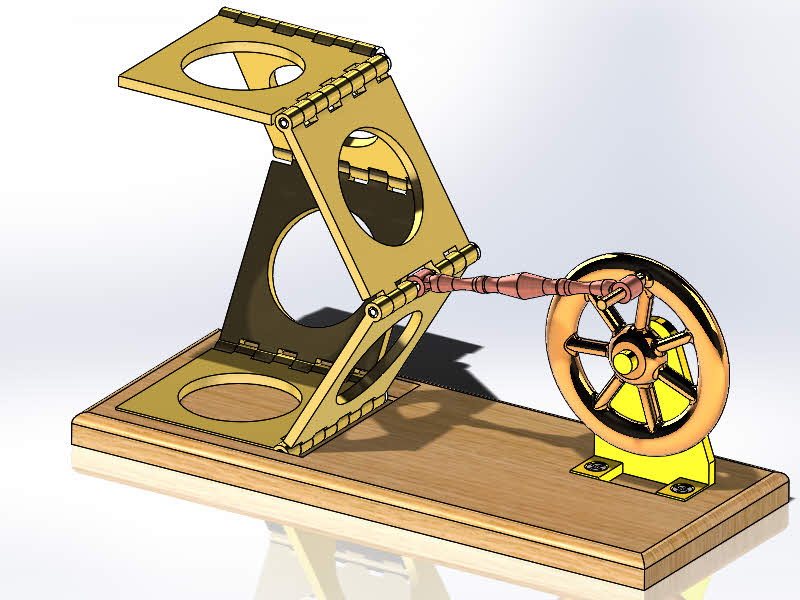
![]() Simple model images, from your 3D Virtual Model – for a quick view we can simply take screen shots of you 3D Virtual model. This provides our fastest service and may take less than an hour – in addition to your model development. Please see some of the selections below using our Sarrus Mechanism for demonstration – and make note of the caption in each image for the different settings that are available. The captions allow a selection for background, lighting other visual properties such as Ambient Occlusion, Shading, Shadows and others.
Simple model images, from your 3D Virtual Model – for a quick view we can simply take screen shots of you 3D Virtual model. This provides our fastest service and may take less than an hour – in addition to your model development. Please see some of the selections below using our Sarrus Mechanism for demonstration – and make note of the caption in each image for the different settings that are available. The captions allow a selection for background, lighting other visual properties such as Ambient Occlusion, Shading, Shadows and others.
Visuals - Simple Model Images – Other models – content 3
add stuff here
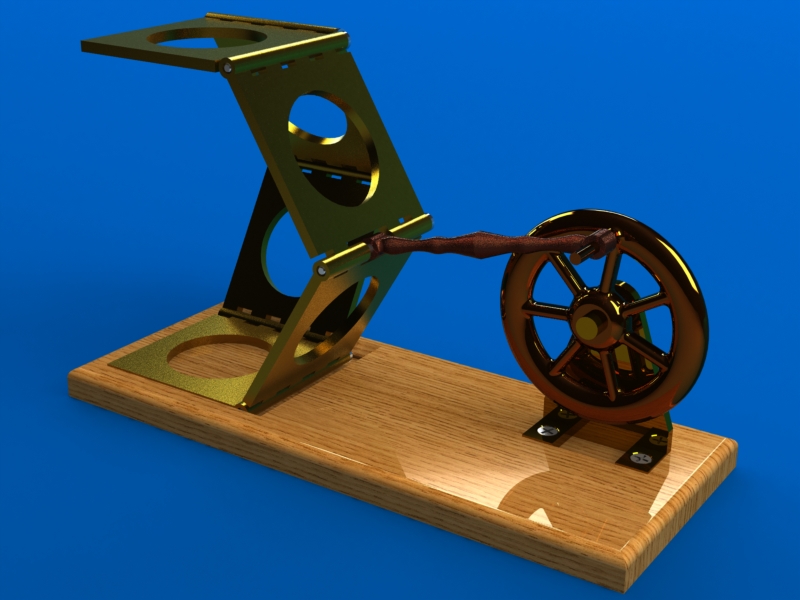

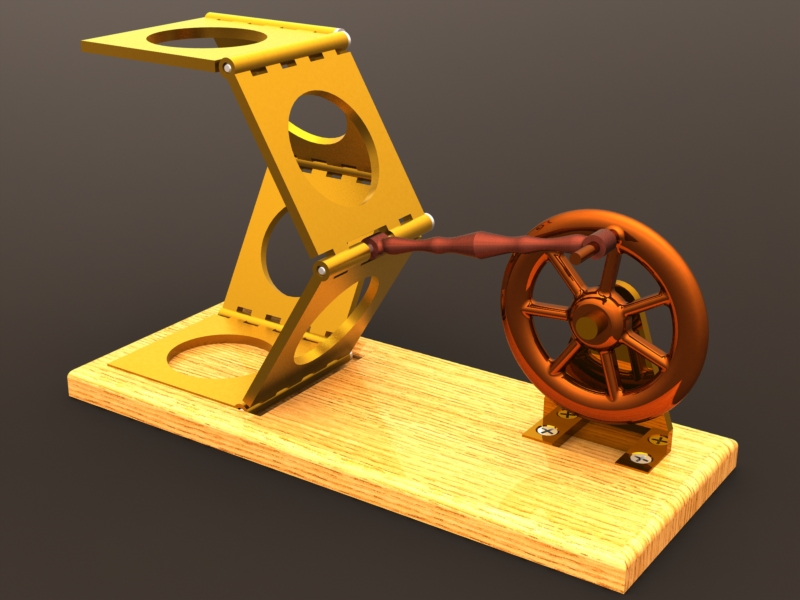
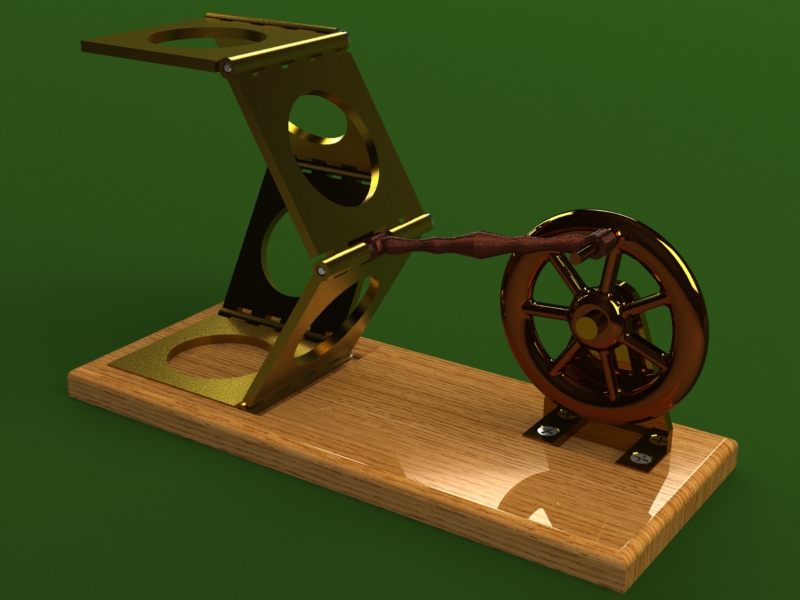
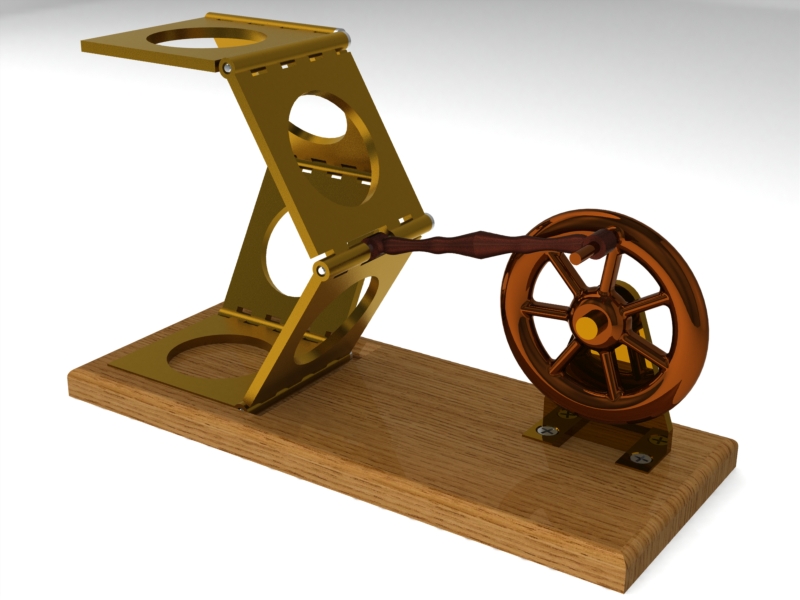
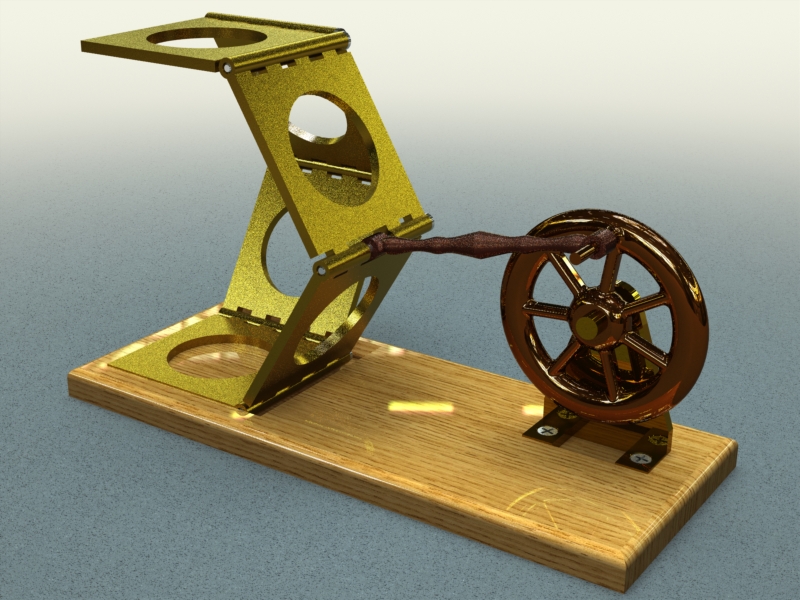
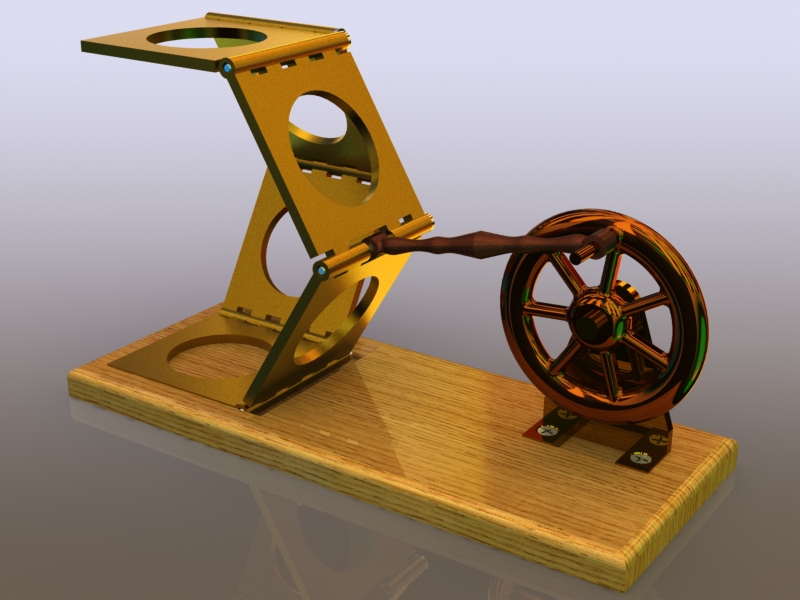
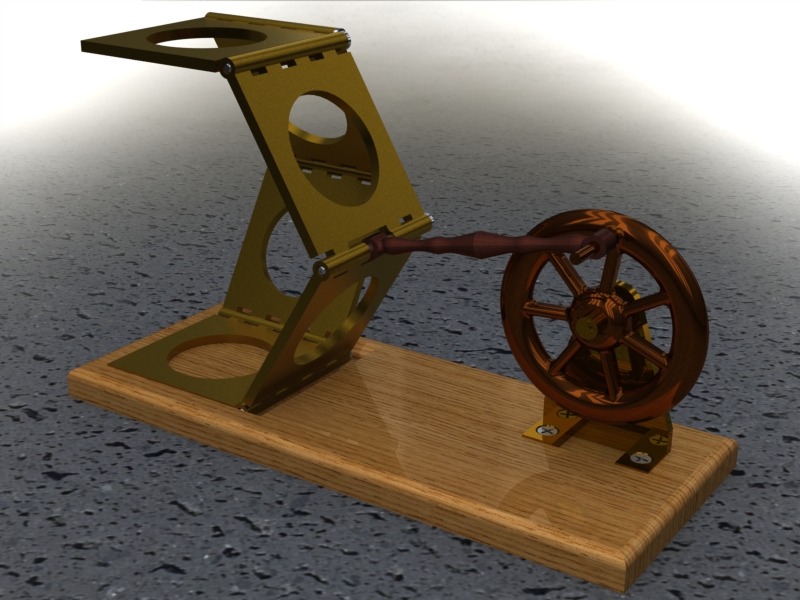
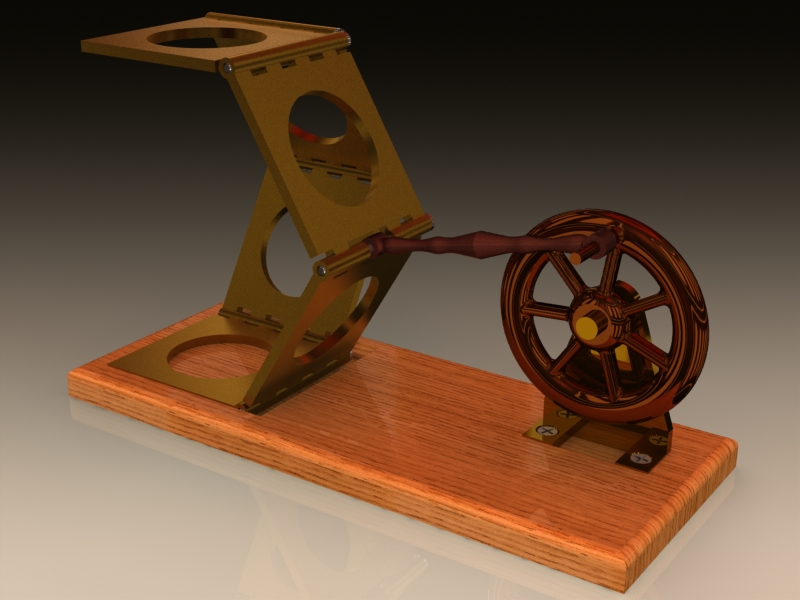
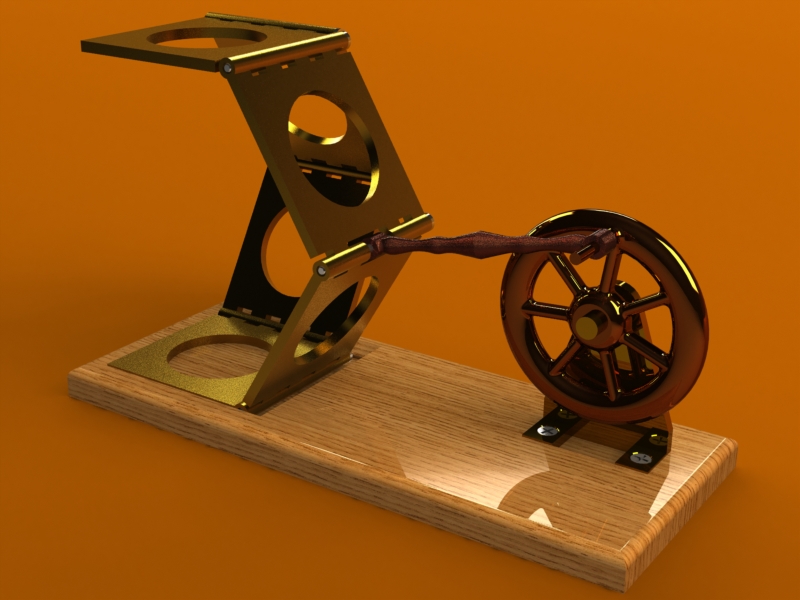
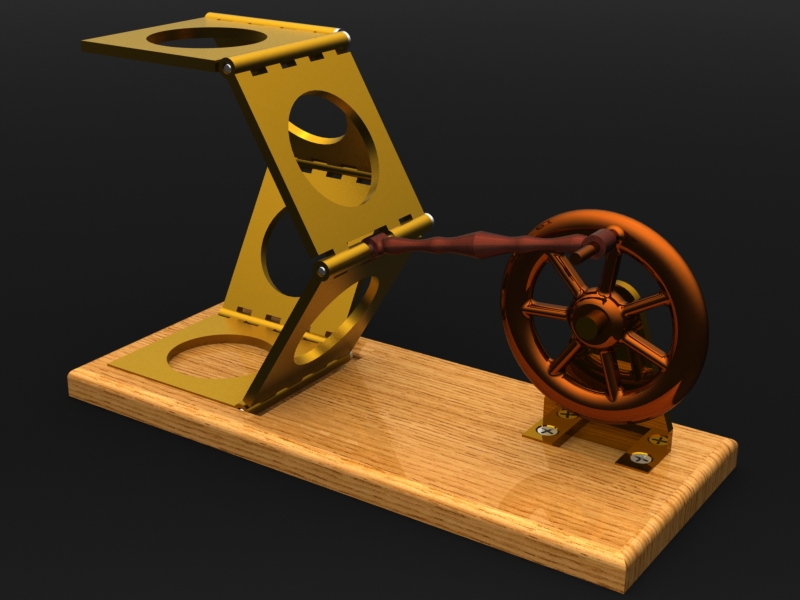
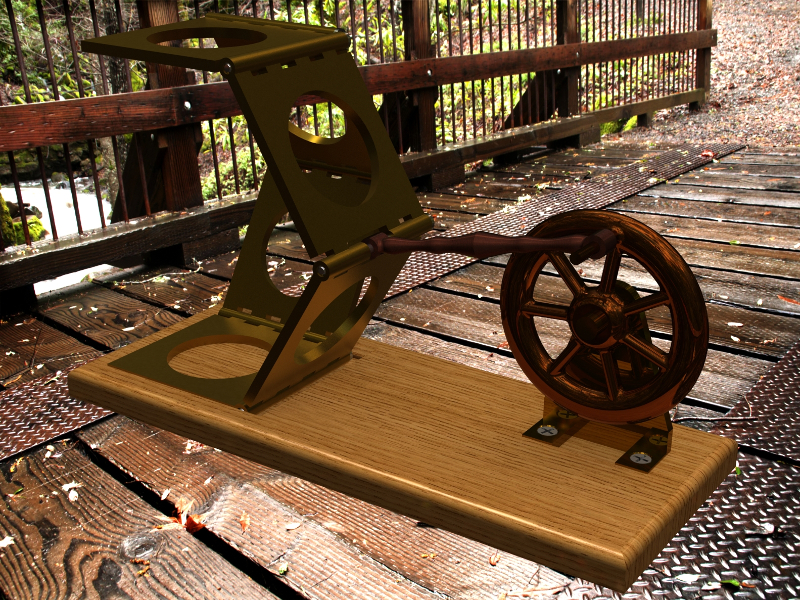
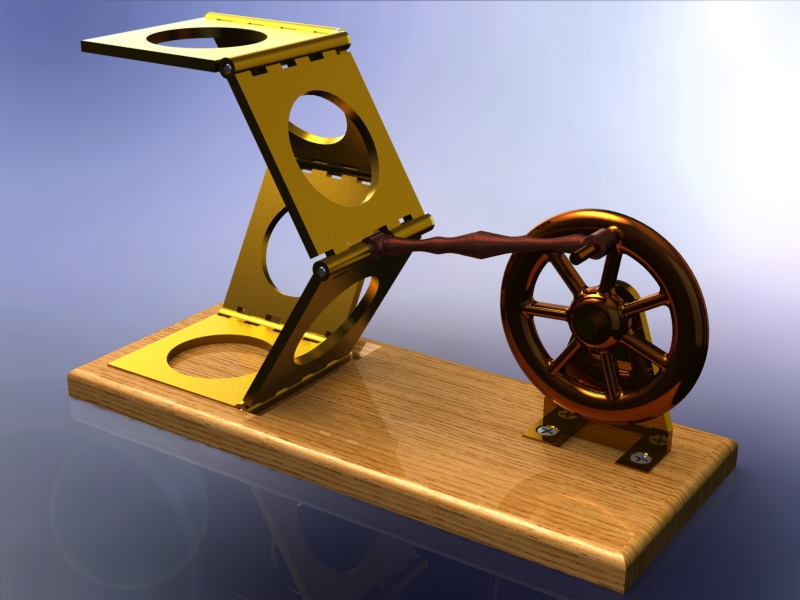
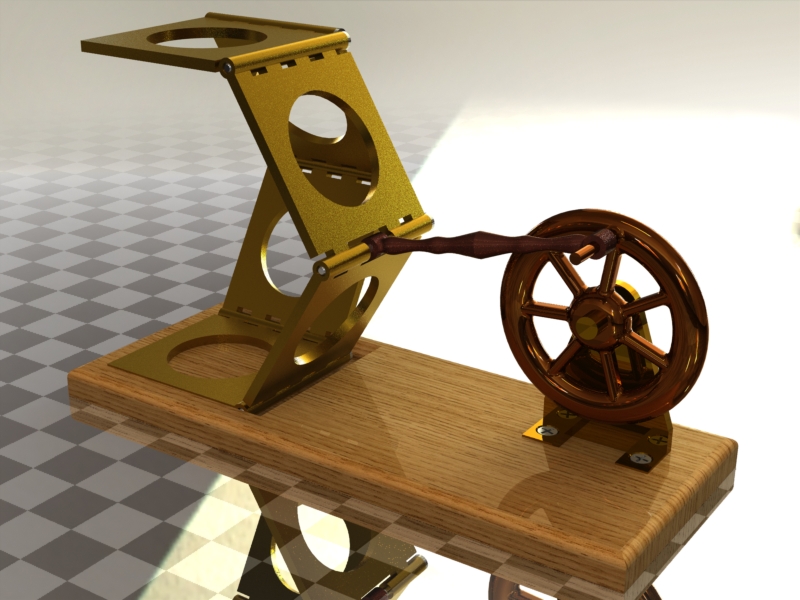
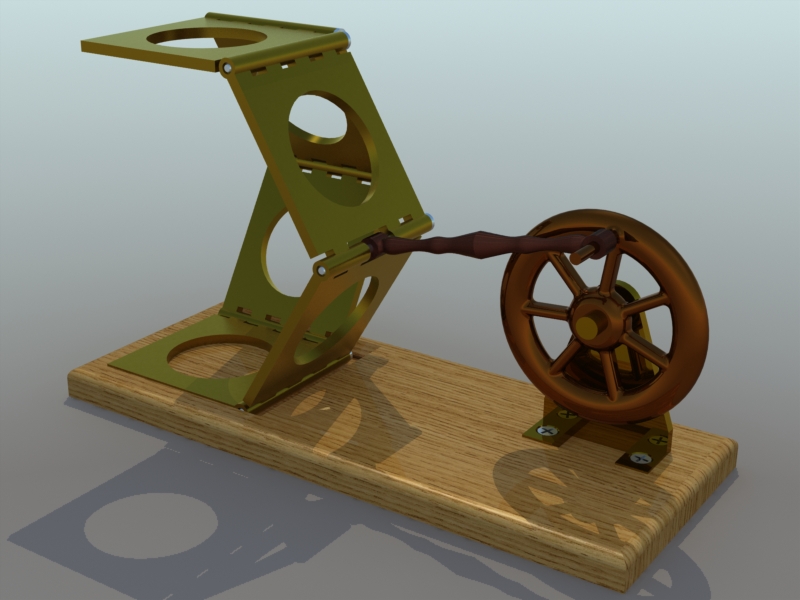
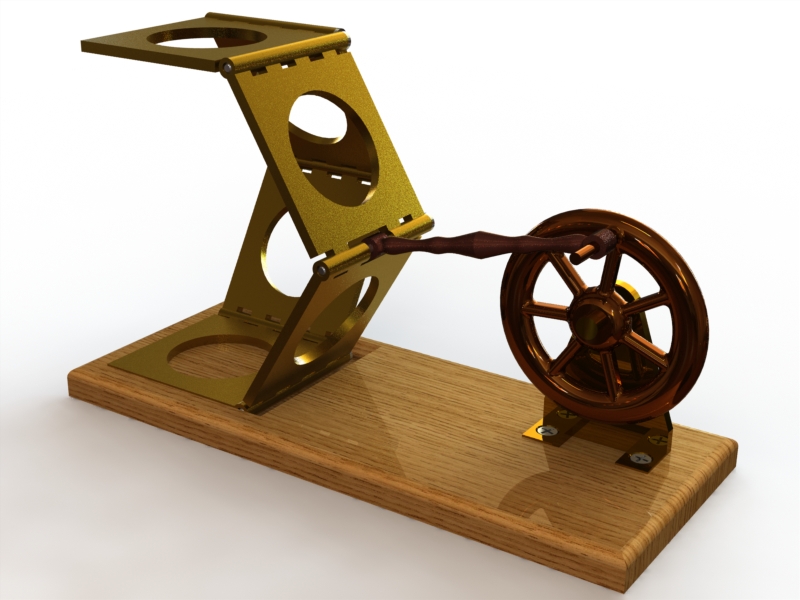
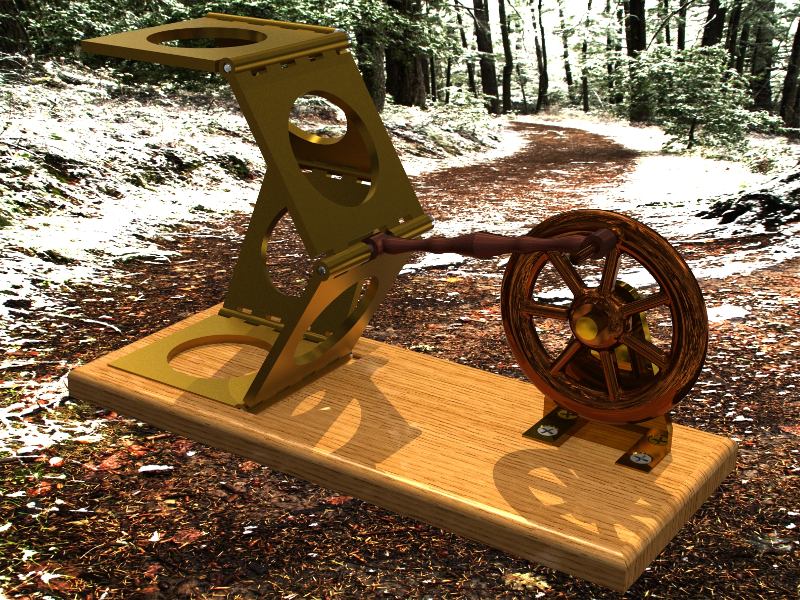
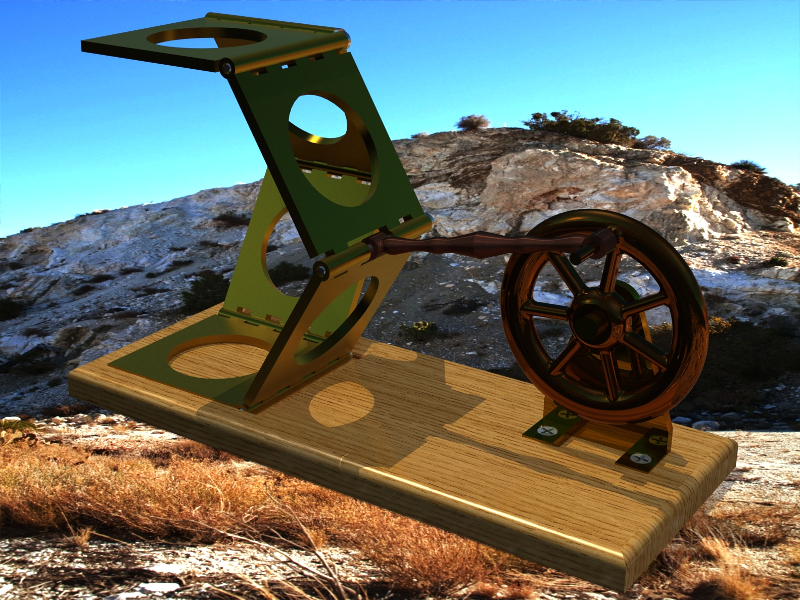
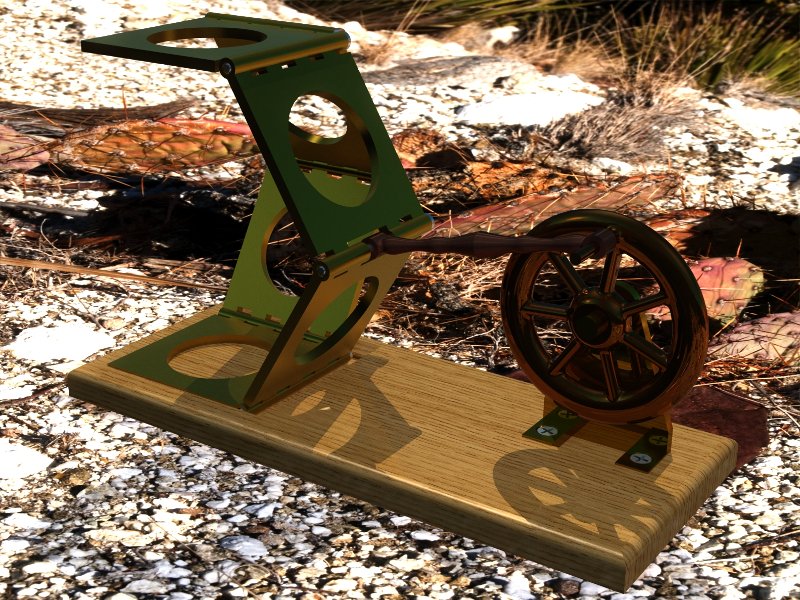

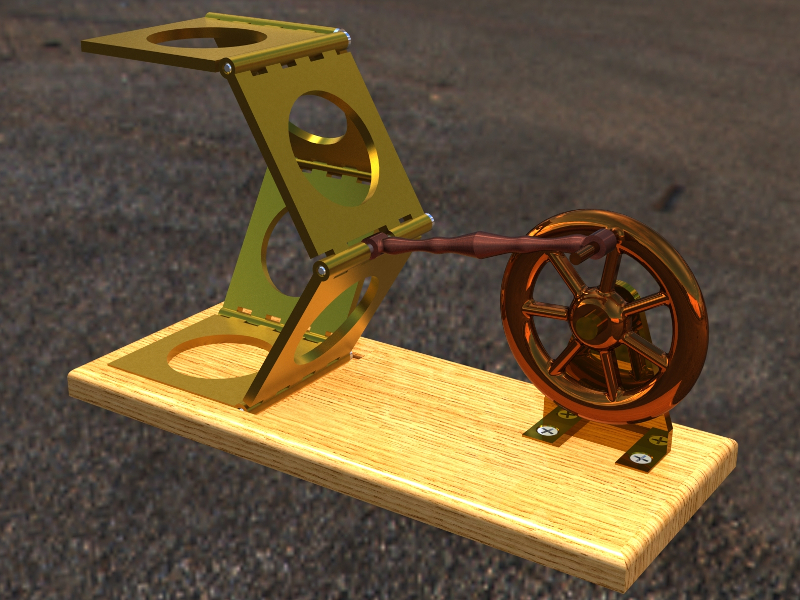
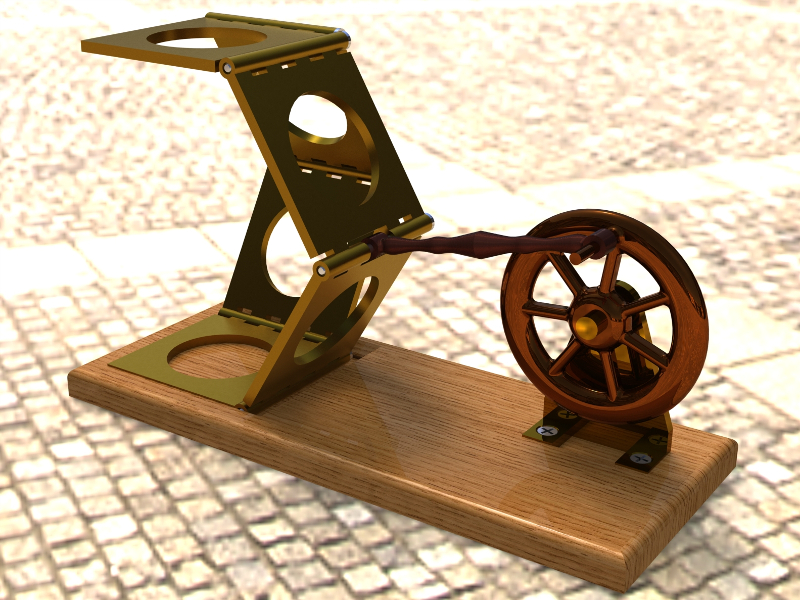
Visuals – More Complex or Photo Realistic Images of Model – content 4
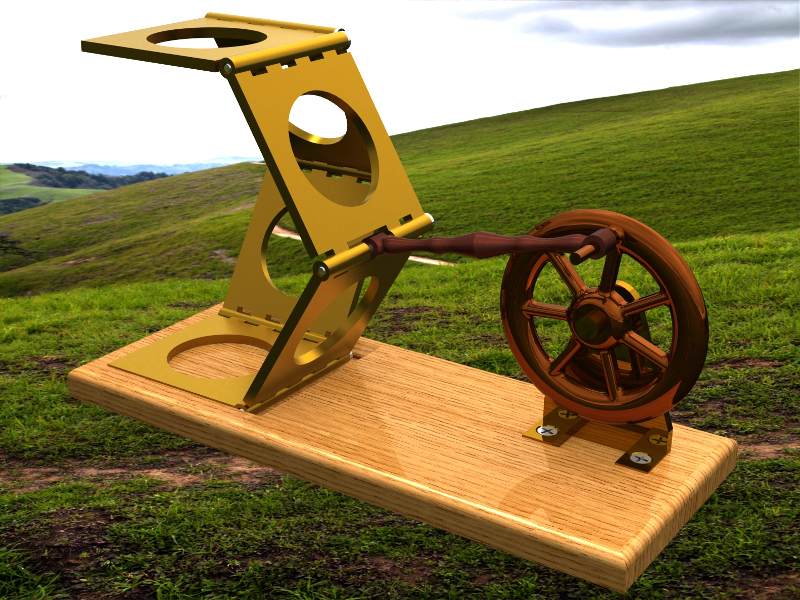
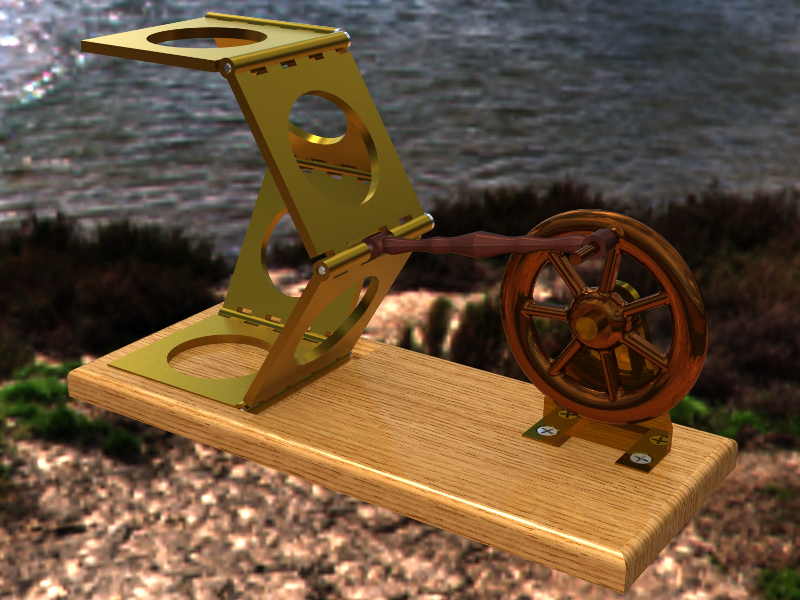
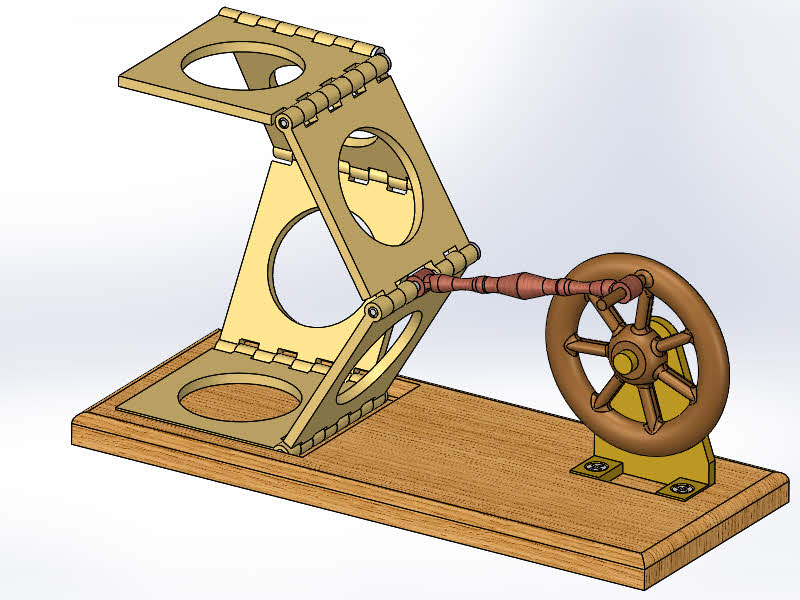
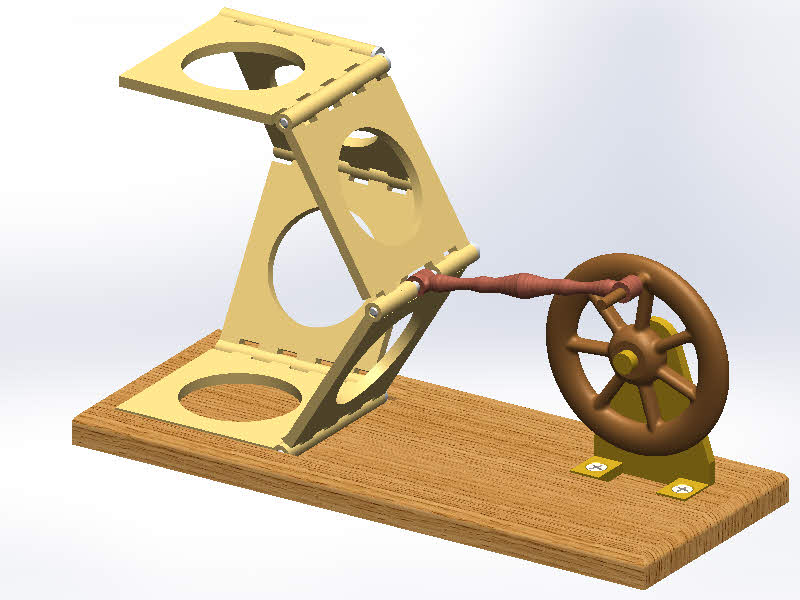
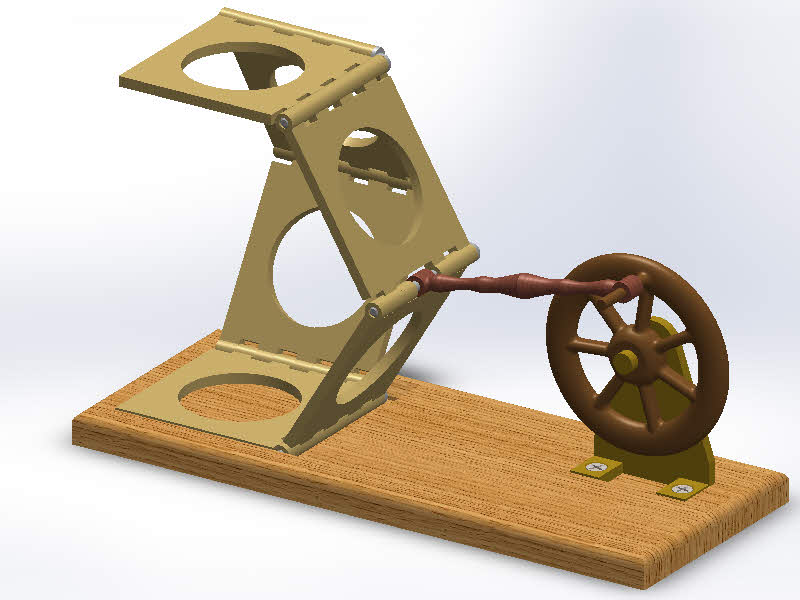
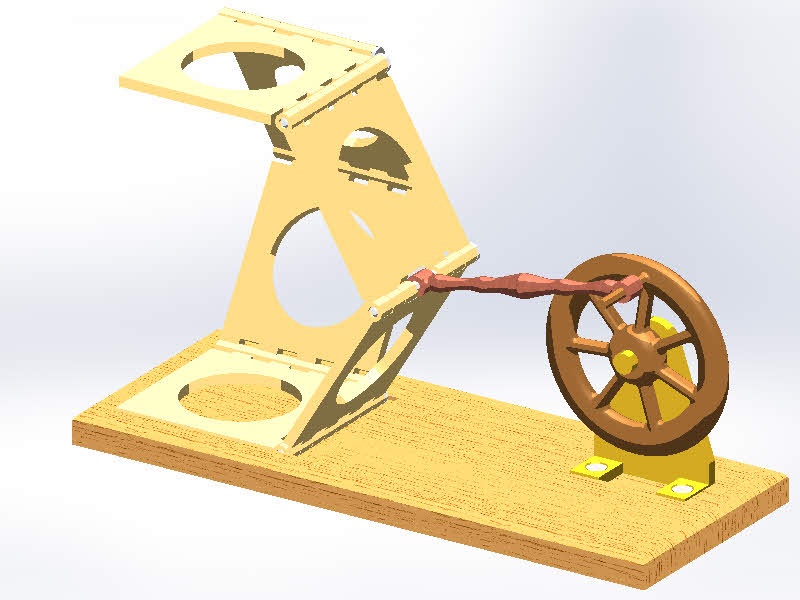
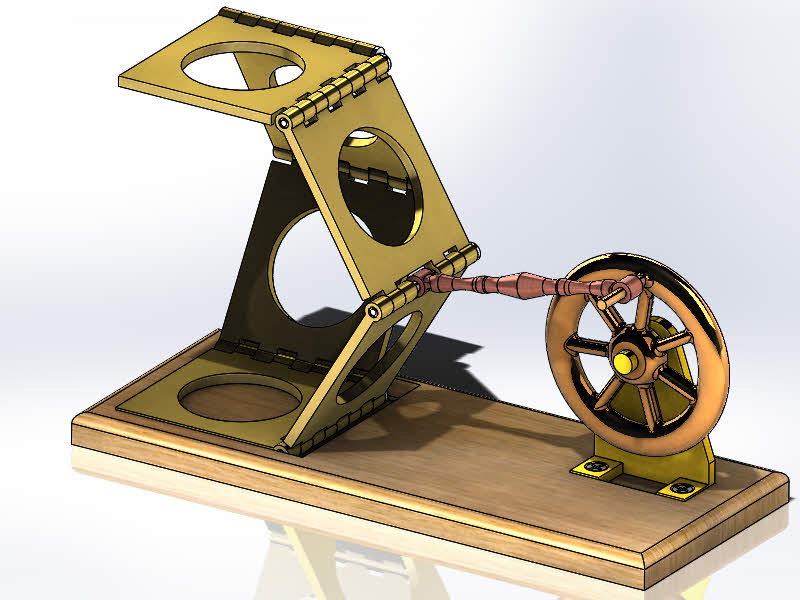
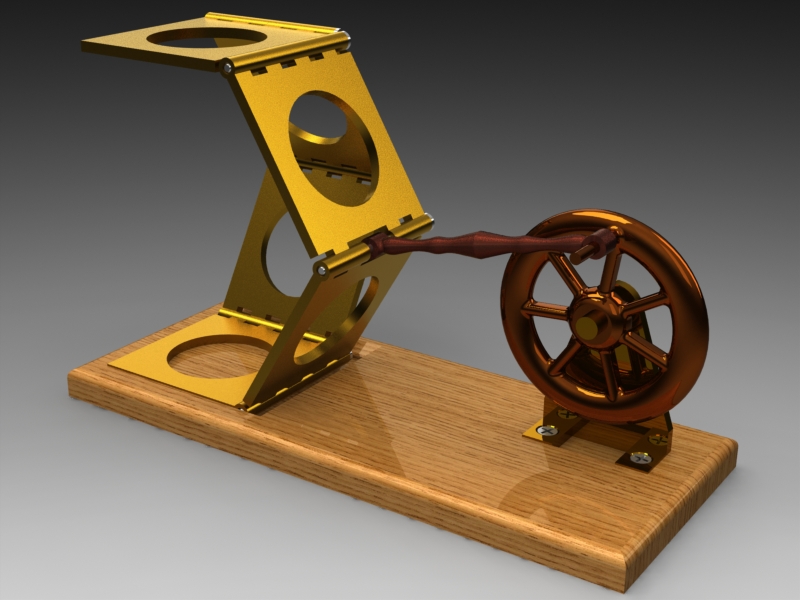
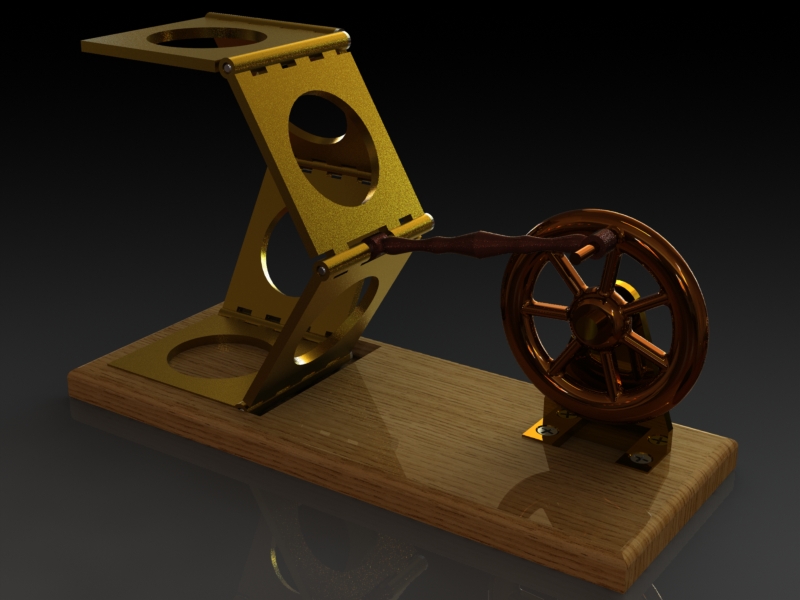
![]() More complex photo realistic images of model, from your 3D Virtual Model – we can produce photo realistic looking images providing more than a quick and simple screen and may include better options for background, materials, lighting, views, shading and shadows. Make note of the caption in each image for the different settings that are available and may include various studio or image backgrounds, materials (with colors and textures), lighting options (spot, flood, point, ambient and even sunlight), engineering or perspective views, along with shading and shadows. You can also provide your own images – perhaps company related – and we can incorporate text and logo images too. This step is more complex and may take a few hours in addition to your model development.
More complex photo realistic images of model, from your 3D Virtual Model – we can produce photo realistic looking images providing more than a quick and simple screen and may include better options for background, materials, lighting, views, shading and shadows. Make note of the caption in each image for the different settings that are available and may include various studio or image backgrounds, materials (with colors and textures), lighting options (spot, flood, point, ambient and even sunlight), engineering or perspective views, along with shading and shadows. You can also provide your own images – perhaps company related – and we can incorporate text and logo images too. This step is more complex and may take a few hours in addition to your model development.

-
- Shaded with Edges – Shaded Background
Engineering drawings (from your 3D Virtual Model - describes how to make it) – content 16
3D model development or modification / Engineering Drawing(s): to communicate your intent to potential fabricators. (Slide Show on the right)
Physicals - "Works Like" Prototype – content 13
3D model development or modification / Prototypes / Works like Prototype – functioning physical model, making certain it fits and works before moving on – if not back up to step 1 then come back. (Slide Show on the right)
Physicals - "Manufacturable" Prototype – content 14
3D model development or modification / Prototypes / Manufacturable Prototype – manufactured part samples, as a near final step toward production and product introduction (we may or may not be involved in this step depending on client wishes)
Patent Drawings (from your model - protect your idea) – content 17
Protect your concept (we are not patent professionals and will not be involved in this step, however we may provide some guidance on people that have helped us in the past). IP examples may include: Provisional Patent
Application, Utility Patent, Design Patent, Copyrights, Trademarks
Getting to Market – Getting Help Beyond Design – content 18 Invent Help, inventRight
We are not manufactures and usually rely on partners and licensing agreements with companies that that are well versed in these areas. Besides it more fun developing products than product management – let those that are good at this… do this. There are companies that may help you take your product to market and offer similar services as we do. Some firms that provide invention services to help with this step include: inventRight, InventHelp, Edison Nation, Quirky
When choosing someone to help you on your concept, one has to consider the motivation of the above firms – they are in the business of providing services not assuring client success. And the client success rate is about 1%. However, we believe we can improve those odds by offering a more personalized approach and working together tackling each step along the way. The realization here is that the more development that you can accomplish, the more attractive its going to be to potential partners in your venture. We would suggest that you start simply with the first design step as described above with very little time and resources spent…. then move on from there, and as far as you want to go.
-

- Shaded with Edges – Shaded Background

Product or concept introduction or rollout